Sometimes we have to roll out our VPN, and manually creating a profile or asking a user to execute a Powershell script it’s not something we do every day.
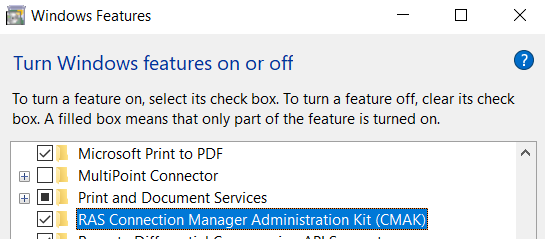
Instead, Microsoft gave us CMAK – or Connection Manager Administrator Kit, a Windows Feature that can be installed on your Windows Workstation or Server via Windows Features:
Launch cmak, and pass the welcome screen. Select above Windows Vista, and create a new profile.
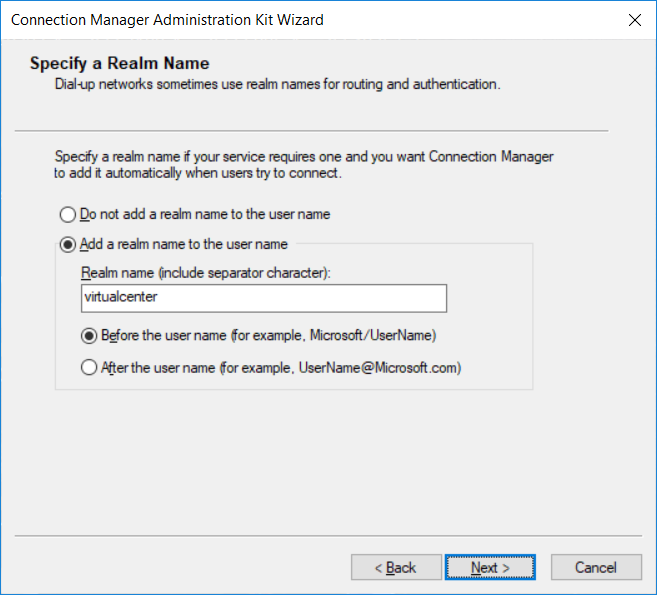
Add a domain if you are using the VPN connection to authenticate via AD:
Next it will ask to merge information from previous VPNs. As we have none, click next.
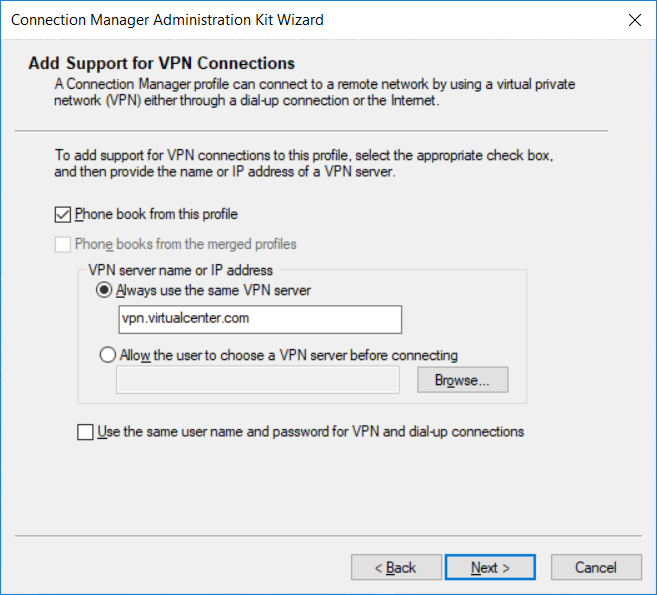
Use your FQDN or the IP for your location:
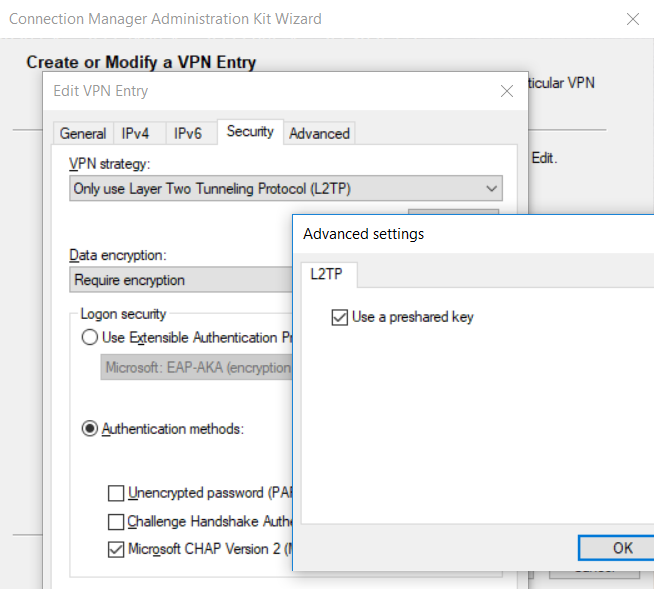
On the next page, click your connection and edit the parameters of the VPN. The following settings applies to my VPN connection.
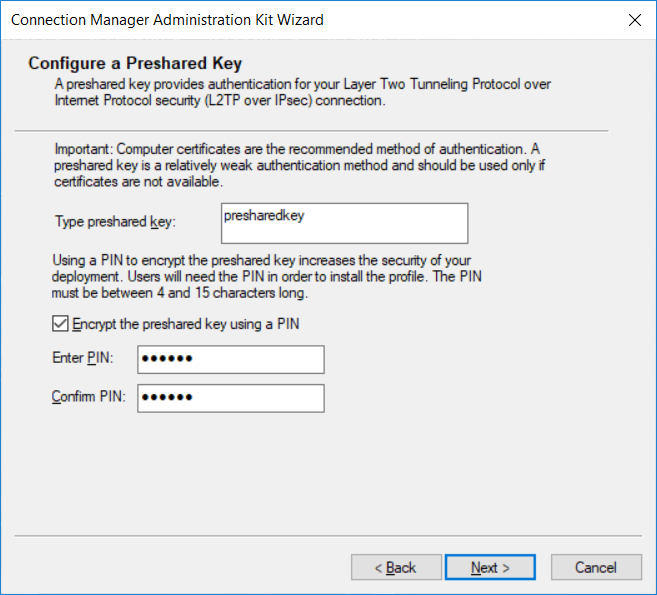
Click next, you will be prompted to fill in the preshared key, and set up an optional key for encrypting the PSK.
Deselect everything on the next screen:
On configure Dial-up Networking Entries, click Next. I’m not changing the Routing table, so I also clicked Next. Same with Proxy settings, Next.
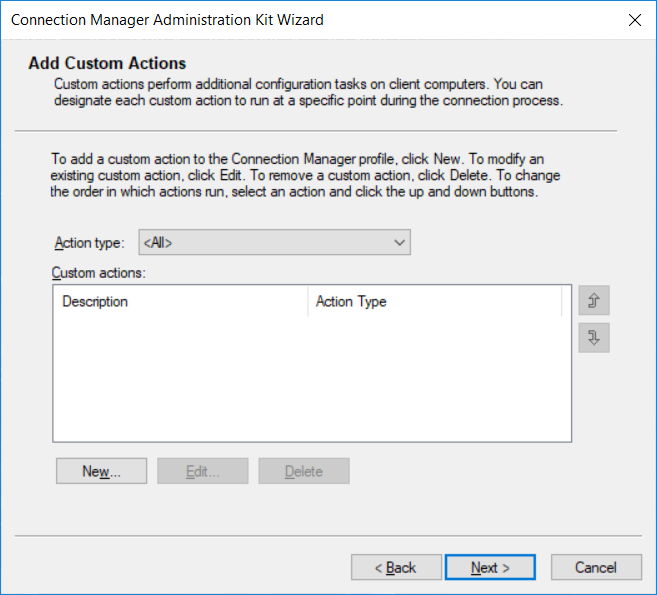
Under custom actions, you can select scripts to be executed while dialing, after connection, etc.
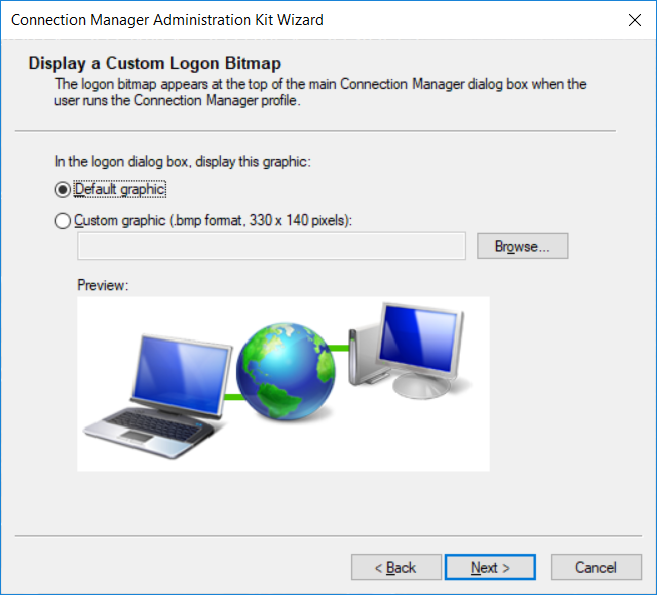
You can use your custom logo for the VPN deployment: